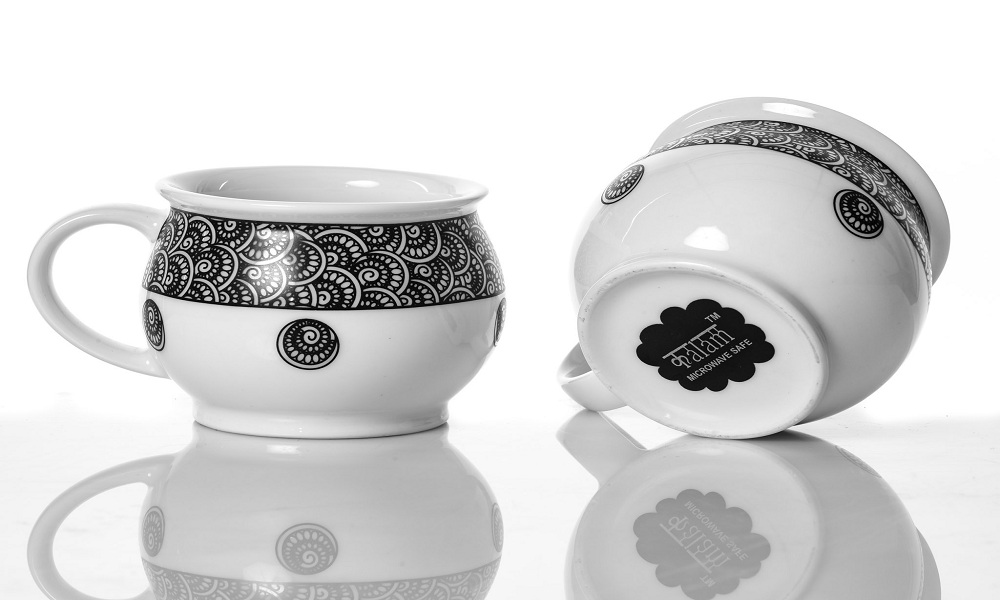
Nowadays, most of the people want to take perfect pictures, no matter what. However, the quality of our photos is influenced by many factors, and most of them are still manifesting even when we’re using a premium quality camera. A lot of young photographers complain that their biggest challenge is to immortalize white products. Photos of white items often tend to lose details or to disperse the light in an unappealing manner. Still, this situation can be overcome, by some special adjustments.
Adjust the light
A good light is essential for every successful photo, but in this case, it’s even more important. When you adjust the light, you will want to differentiate the captured item from the background. You will also want to outline the product’s shapes, in over to highlight it. And with a white product, all those things are a lot harder to achieve. But it is possible. Instead of lighting the product directly, you’ll have to use an indirect source of light, which will create shadows and a more expressive definition.
Check the settings of your camera
Now that you’ve set up the light, you will need to adjust your camera. Focus on your light source and set the white balance accordingly. Try to make some test photos and see how the product looks. If there are any blue lines or if the images contain some grainy details, some more adjustments have to be made. Play with the settings and take photos, until the product has all its details highlighted and differentiates from the background. For better results, you should consider using a tripod.
Establish your shooting place
Even though most of the times we don’t have that option, it’s ideal to select your own shooting stage, in order to take the best pictures. A lot of photographers opt for a black background, as it creates a contrast between the white product and the rest of the photo. This isn’t necessarily a bad approach but sometimes, these kinds of photos might look boring or unappealing. That’s why, a multicolored background or even a white one, are more than advisable. Try to establish the boundaries between the background and your product, without losing any detail. The autofocus will help you a lot here, but if the photo doesn’t look natural after all the adjustments, you will have to opt for a darker stage. If you’re taking the photo on a white environment, you can use a white reflective surface to put behind and beneath the product. It will look more natural, keeping all the important details.
Editing
Now that you have your photos, it’s time to outline the details and to correct the imperfections. For that, you will need editing software. Photoshop or any other editing programs are not easy to operate, and if you don’t master them, you might do more harm than good to your photo. This is where a professional retouching services company may help you. They can process your product photography according to your instructions, and highlight their main features. If you need a perfect photo, then it’s imperative to work with a specialized company.
Read- What are the Best Photo Retouching Techniques for Professional Photographers?
Conclusion
Taking white product photography is not that hard, once you get familiarized with all the aspects. All you have to is practice hard and keep trying until your photos are nothing less than perfect.

